We have several traditions in the Lacroix household, most of which involve some sort of interpretive dance while dressed as chickens.
I’ve said too much.
Of all our traditions, none holds a place in my heart so dearly as “Jack O’Lantern Night.”
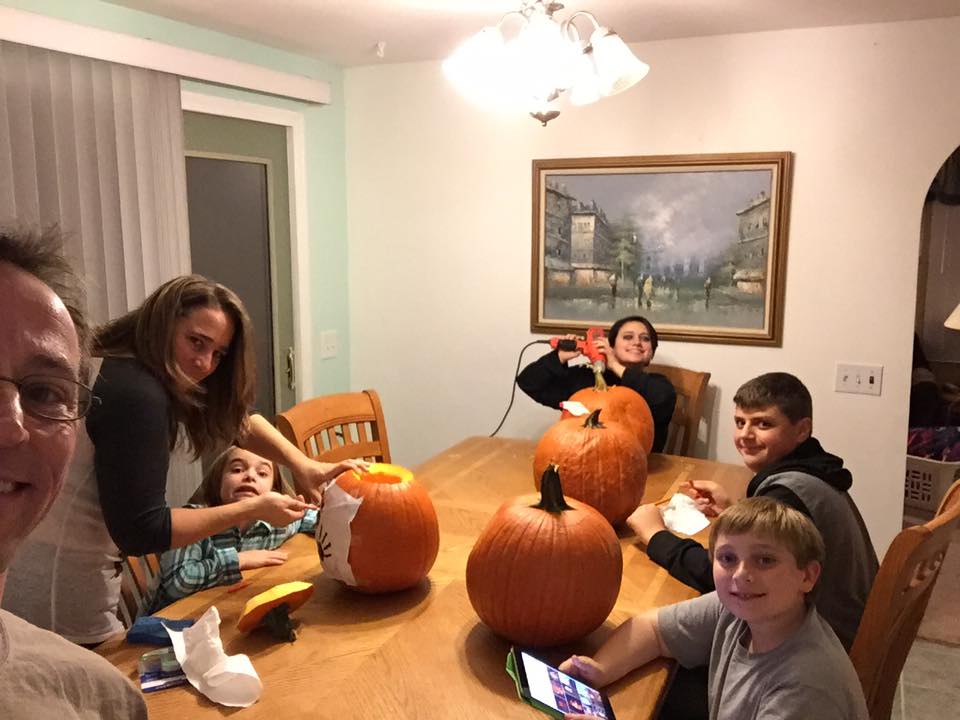
Here is me with my wife and our kids, getting ready to dig into the pumpkins. Please ignore the weird faces some of the kids are making because we can’t get them to take a nice picture ever ever never ever it is so frustrating OMG.
Every year, just before Halloween where the kids get dressed up in their $80 costumes that they’ll only wear once, we go out and buy pumpkins for the sake of carving the crap out of them.
Of course, the first step in carving the crap out of them is actually scooping the crap out of them, which is honestly pretty gross.
If you’ve never carved a pumpkin, you’re missing out on one of the great joys of life. Here, in a nutshell, are the steps of creating the perfect Jack O’Lantern.
1) Buy pumpkins
This seems pretty self-explanatory, however you have a few options here for buying a pumpkin.
You can get a pumpkin at a local farm stand, if there happens to be one in your area. Because farms are locally operated, expect to pay $400 for a very small gourd. A gourd is another name for pumpkin, I think, although most things I see labeled ‘gourds’ actually look like Robert the Bruce’s old father dying from leprosy or whatever at the end of Braveheart. If you want to avoid thinking about that and the possibility of growing broke by buying local, move onto the next option.
Your other option is to get a pumpkin at a grocery store for about $6 or $7.
All pumpkins have a flat spot because they spend their life lying on the ground in one position, much like a neglected baby. I can only say this because I have a huge flat spot on the back of my head and my therapist says someday I’ll be able to forgive but I’m not sure.
I’ve digressed.
Now that you have your pumpkins…
2) Buy a carving kit
You can buy these carving kits pretty much anywhere around Halloween, but essentially they’re just a kit with a bunch of little tiny killing utensils and a plastic scoop.
The kit may or may not come with a booklet of templates that you will later curse as you try to tape it to the pumpkin. More on that later.
Now you have everything you need except your youngest just used a tiny saw to cut the kitchen counter. Sonofabitch.
3) Clean out the pumpkin
This part sucks.
First you have to cut a circle in the top of the pumpkin and pull the top off. This is more fun if you pretend you’re a crazed neurosurgeon like Ben Carson and accompany every motion with an evil laugh like BWAHAHAHAHA I AM PULLING OFF YOUR SKULL CAP NOW.
Be prepared for your spouse to back several feet away from you at this point.
Once you’ve removed the top of the pumpkin’s skull, you simply reach inside with the plastic scoop and start scooping all the gross crap out into a bowl.
If you find yourself elbow-deep in the giant pumpkin hole, now you know how Kanye West feels.
I’ll give you a minute with that one.
Now comes the decision…
4) Save the seeds?
Does your family eat pumpkin seeds? If yes, then once you clean out the crap from inside the pumpkin you need to start separating the seeds from the stringy orange junk.
This will take 7 years.
Once that is done, you rinse the seeds and then let them dry and then spread them out on a baking sheet and in 3 more days you will have enough pumpkin seeds to yield almost two handfuls!! IT IS SO WORTH IT.
5) Start designing
Here is where you start drawing your design of what you will carve out on the pumpkin.
I highly suggest only doing this with pen and not permanent marker because permanent marker is a bitch to get off of a pumpkin and you will find yourself screaming at your children roughly 3 minutes into this step.
If you bought one of those pattern books with your carving kit, this is the part where it takes your youngest another day to decide which one she wants to do, and then another day trying to tape the design that’s drawn on a flat piece of paper to the round pumpkin. This requires you cutting tiny little slits in the sides of the paper and using tape and oh great now the paper is tearing and now it’s wet WHY DID YOU WET THE PAPER now it’s ruined go pick a different design.
This is our youngest’s design that went through this very ordeal and was carved out by my wife over the span of three months:
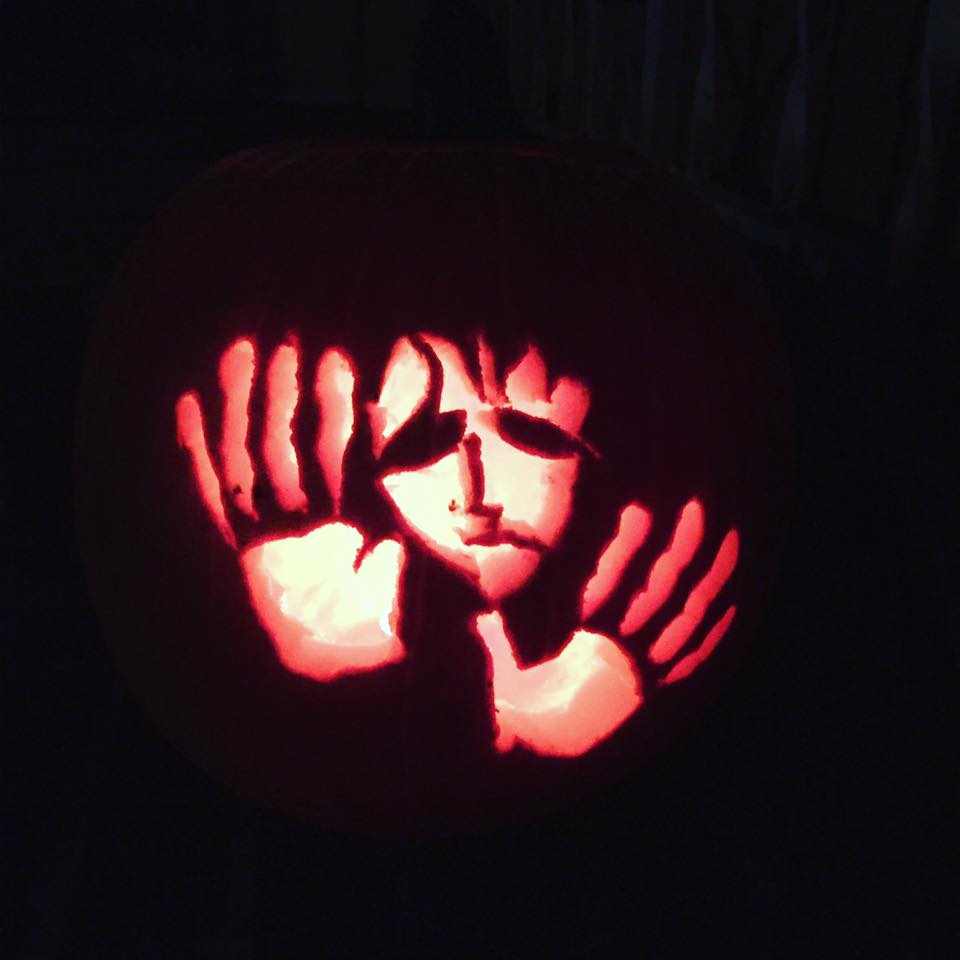
Moral: Draw your own.
6) Start carving
Using the carving kit, start by poking holes in the pumpkin while giving suggestive winks at your wife. You can also do this while you’re elbow-deep in the pumpkin and doing a Kanye West impression.
Once she stops yelling at you, you can continue carving.
Use the tiny little saws and start cutting. Keep in mind that kids cannot do this and complain they are tired about 5 seconds into trying so you end up doing this entire thing yourself. The more kids you have, the more you will have to do. You may want to request some time off of work if you have more than 3 kids who want to make Jack O’Lanterns because you’re in this for the long haul, fella.
Optionally, you can do something like my daughter just did, which was to design a disco ball Jack O’Lantern. This only required my power drill and a mop because there was pumpkin sawdust all over the goddamn place but it came out pretty cool
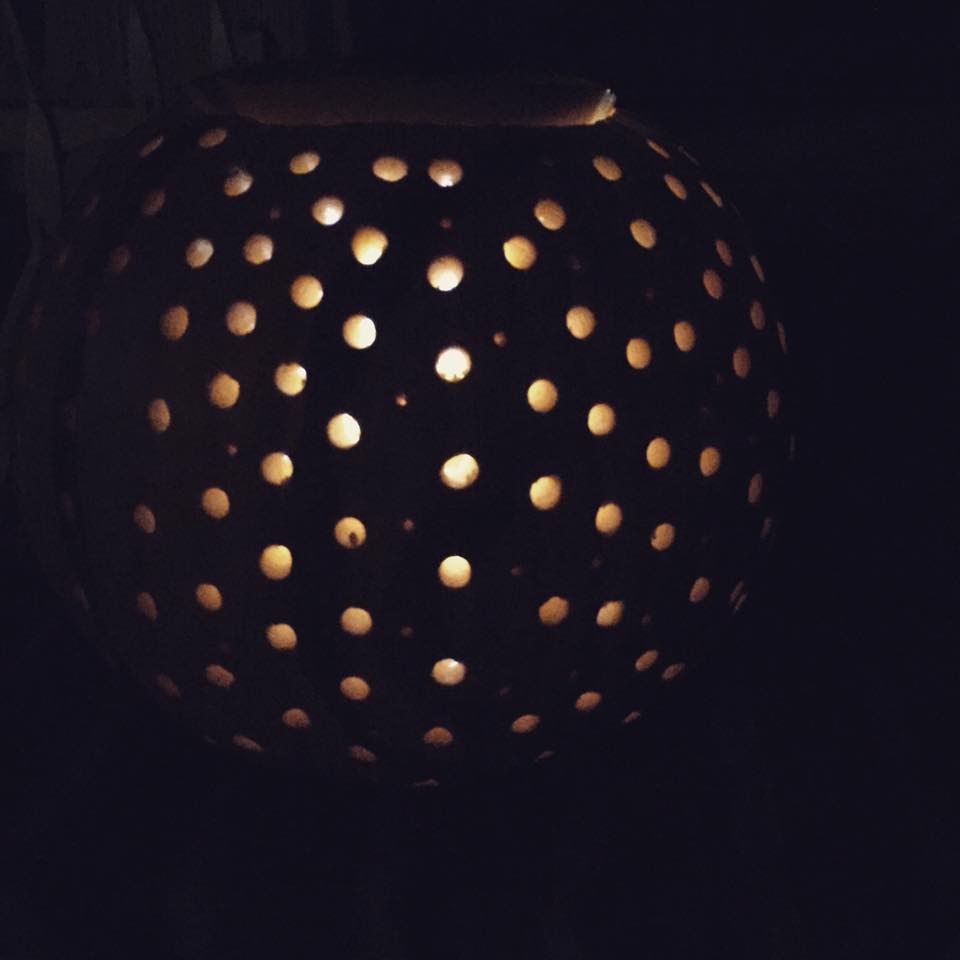
We put in an electronic strobe light for added effect and now our lawn is littered with people in their 50’s wearing white pantsuits.
7) You’re done! Put in a candle!
Congratulations! The year is 2083 and you’ve just finished making Jack O’Lanterns that started to rot while you were working on them 8 decades ago!
Now all you have to do is put them outside and put a candle in them!
The candles will, of course, blow out or not have enough oxygen to keep the flame sustained so I suggest buying battery-powered candles that will break when it rains or the temp dips below 35 degrees, which it will because it’s October. Basically what I’m saying is just buy one candle, take some pictures and be done with it.
Scary or Funny? One Last-Minute Tip
Before I let you go and kill some vegetables, let me remind you that there are several options on how to design your pumpkin.
Scary? Sure. Go scary. I always go scary when designing my Jack O’Lantern. But I also live in the house with two of my boys who are both also funny, so scary pumpkins from them is not an option.
Instead, I’ll get stuff like this from my stepson:
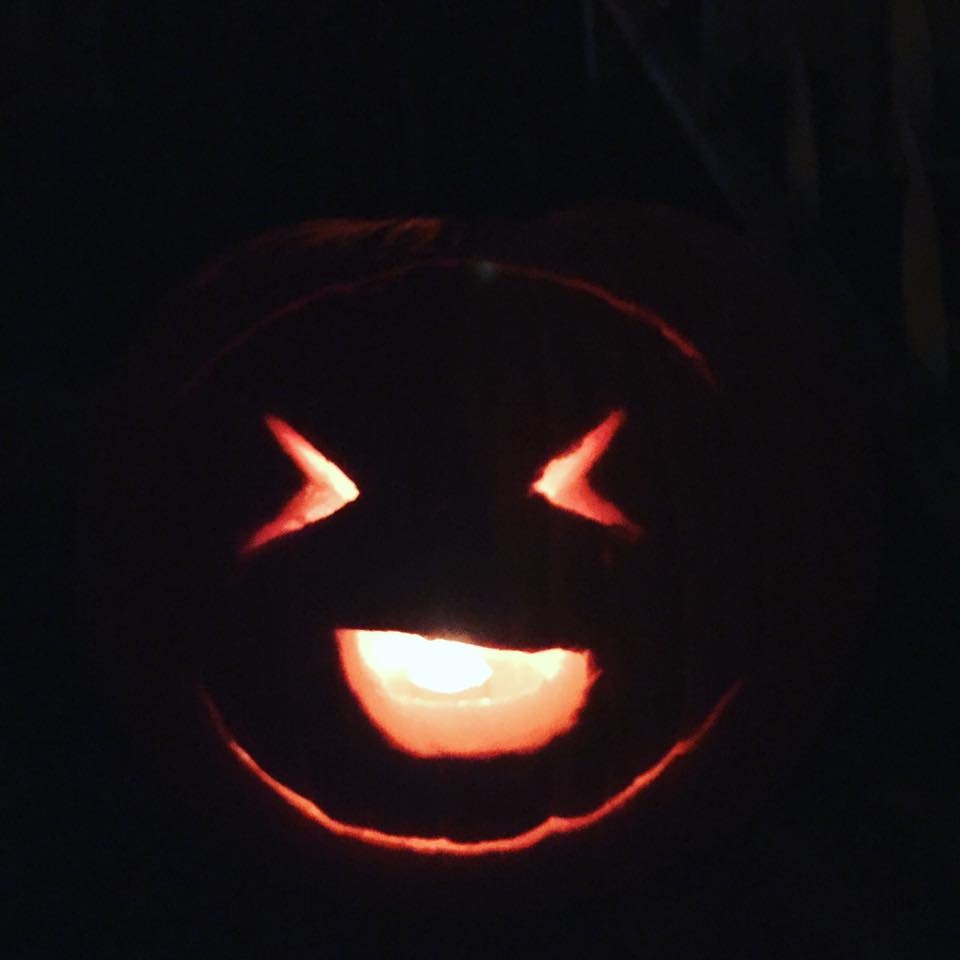
Or…my very favorite pumpkin carving of all-time from my son:
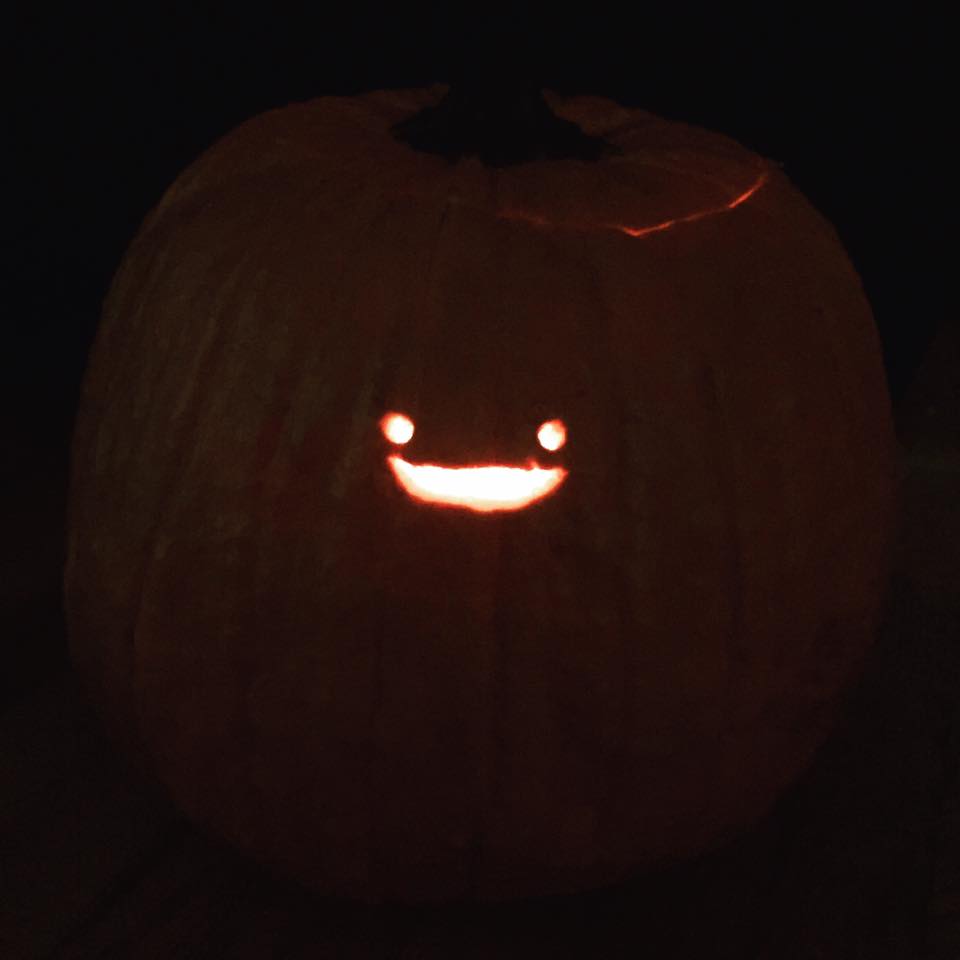
I cannot walk up my stairs without laughing when I see that thing.
It is incredible.
Not as incredible as Kanye thinks he is, though.
Remember to do that impression. Hugely important.
UPDATE!
With the stupid warm weather we had in New England immediately following our pumpkin carving, shortly followed by five inches of rainfall over two days, our pumpkins all started to rot immediately on my front steps.
As such, they are now all moldy and or breaking.
The best part, though, is that my stepson’s pumpkin cracked and is now smushy on the bottom, just like me. Because of this, it is now collapsing under its own weight.
However, the best part is that the face he carved into it is perfect for what is happening right now. I can’t stop laughing when I get home and see this.
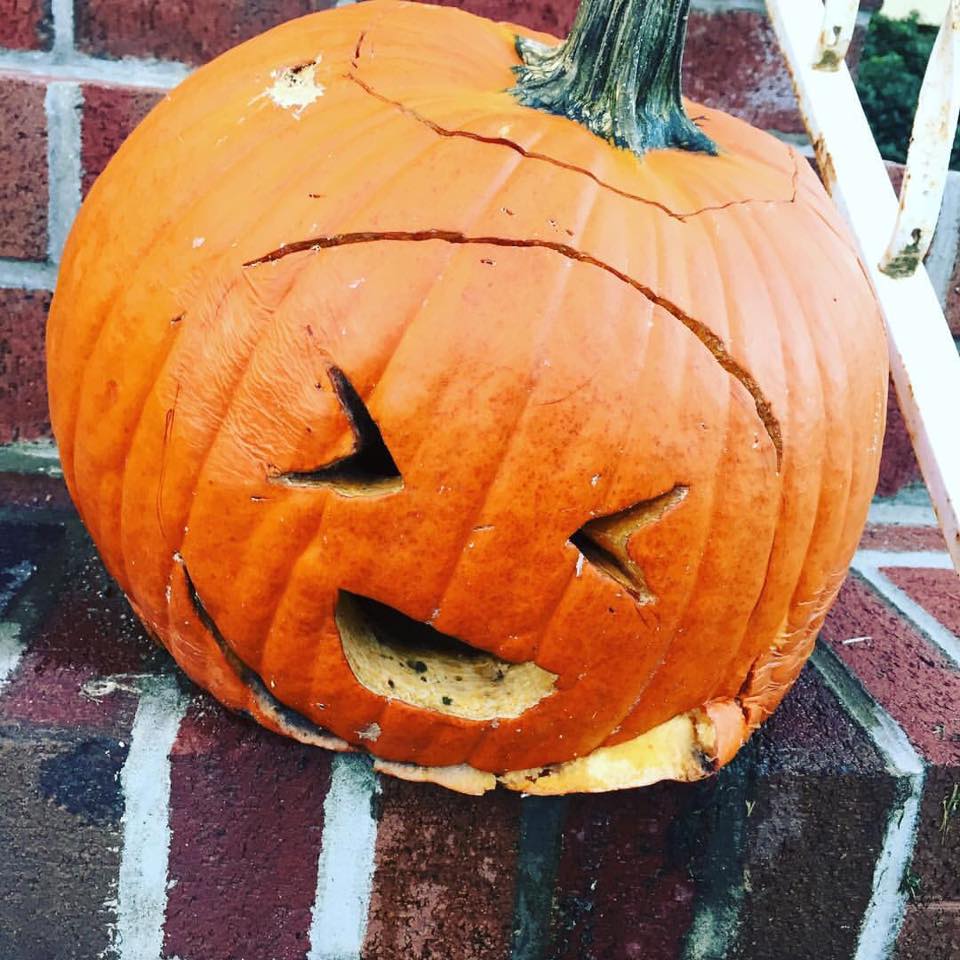
It’s like its saying “OOOOF” or “SONOFABITCH.”
On a related note, this is EXACTLY what I look like getting out of bed every morning.
Terri
Geez, lucky kids! My Dad always said, “It’s your pumpkin, you clean & carve it!” Mine usually ended up being the old triangle eyes & nose & jagged smile. Dad’s were always works of art.”